I decided that a short animation would be used as a marketing tool to promote the app.
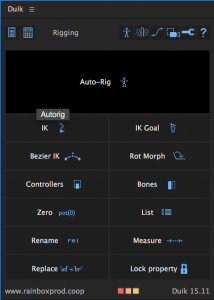
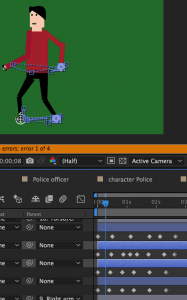
I have applied many prior techniques I learned in semster A, and also aqquired new skills with creating this new project. One new skill I have aqquired is character rigging, and I managed to acheive this with an Adobe After Effects rigging plugin known as ‘Duik’. What I first did was select the limbs and move their anchor points to the joints which I would be able to move once I applied the character rig. Here is an example:
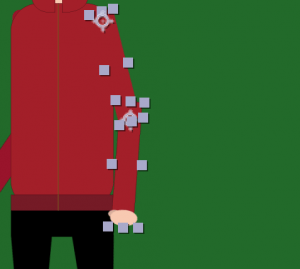 As you can see they are placed to the joints. I then parented the forearm to the upper arm, and then the upper arm to the body. I then clicked ‘controller’ on the Duik menu:
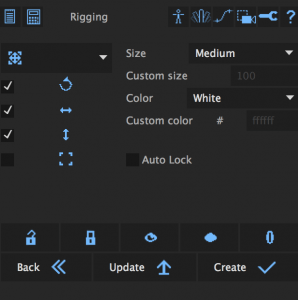
and when I selected the controller menu, I then clicked ‘Create’. But I still could not adjust the arm. So the next step was to select the new layer controller layer, and the layers they were connected too including the characters torso, and then I clicked ‘IK’ in the main Duik menu. Here is the link to the website I attained the plugin from: https://rainboxprod.coop/en/tools/duik/
I repeated the process for the other limbs and then I was ready to animate the character.
Here is the entire walk cycle:
I did not look at any tutorials on how to complete a walk cycle animation, I used my intuition which involved moving the legs and arms in separate timings to each other which is how a human walks. I also added a little bob to the body that went up and down so it looks like the character is taking steps. This can be seen more clearly in the last animated scene with the police officer.
Another skill which I learned myself was how to use the camera, and I even managed to track one of my characters. I first animated the character, I took it into another composition with my other assets, I animated the character to the position that I wanted the character to land on, and then I animated the camera to follow the character. But first I had to change all layers into 3D layers to allow me track the movement.
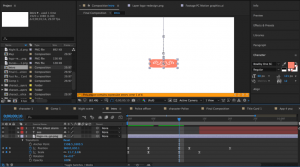
I also made great use of the easy ease tool by implementing it with animating my logo. I used the squash and stretch animation technique which is commonplace for all animation.
